
SWC Forums

Pull up a chair...let's talk fishing.

My New Boat - 22' B...
 
Notifications
Clear all

My New Boat - 22' Buddy Cannady - Build Out

90 Posts
28 Users
0 Reactions
208 K Views
Stuart Foreman
(@highspeedwelding)
Estimable Member
Joined: 17 years ago
Posts: 147
Topic starter  

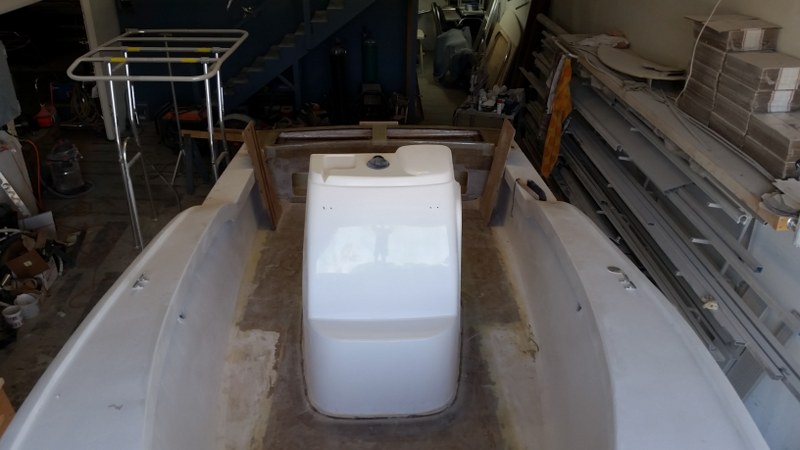
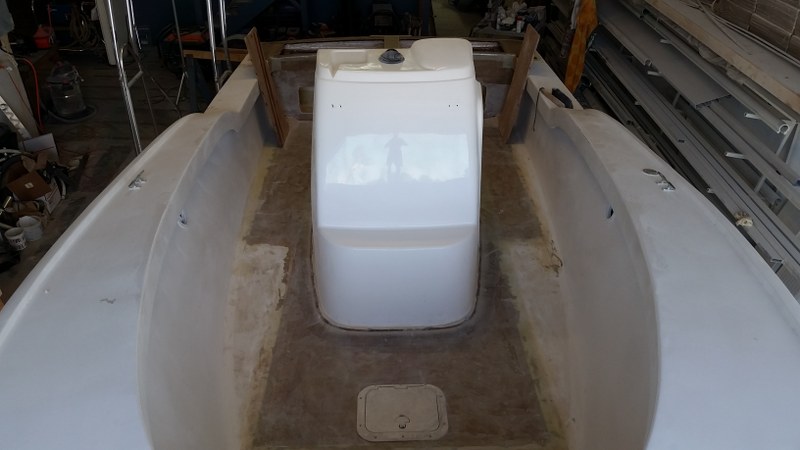
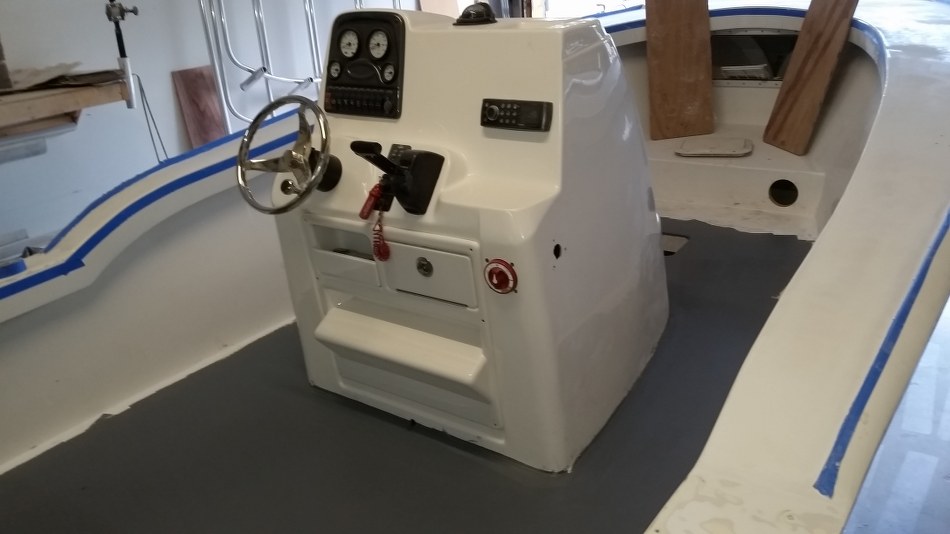
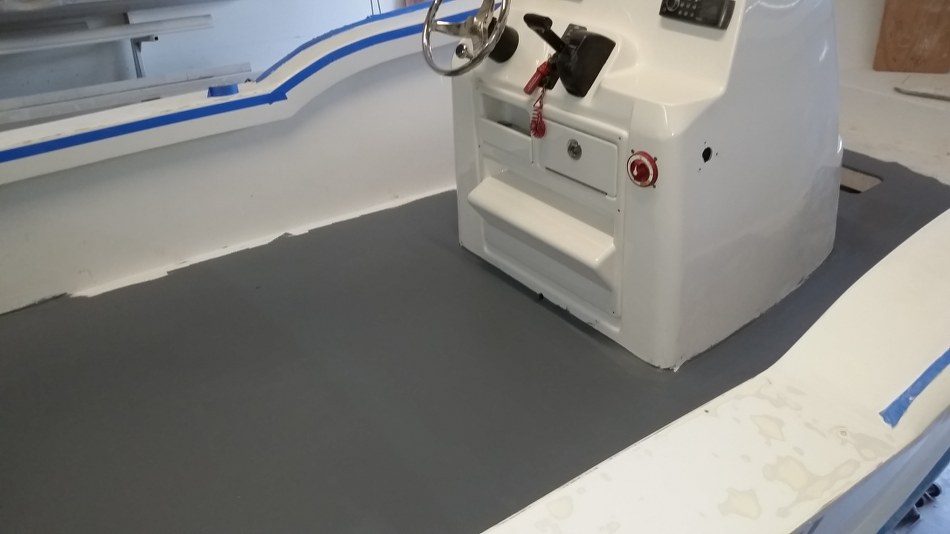
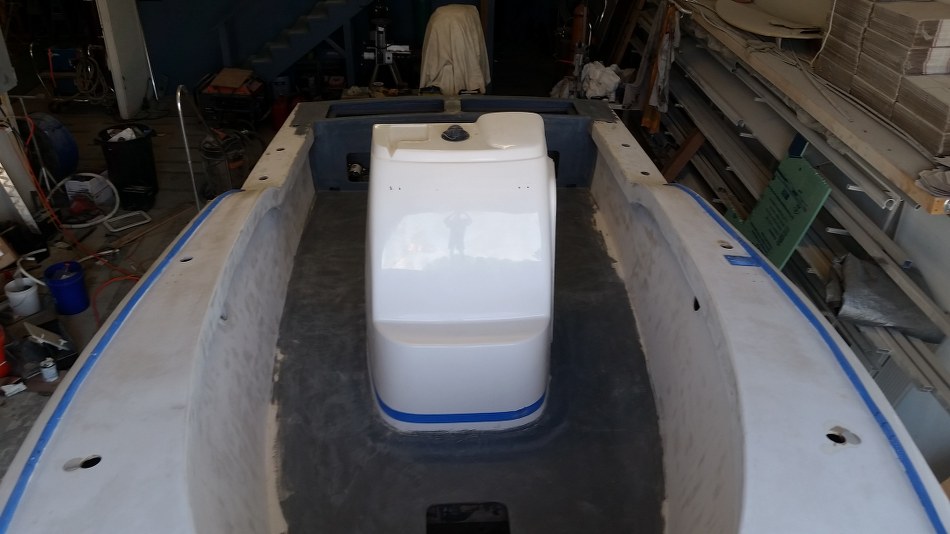
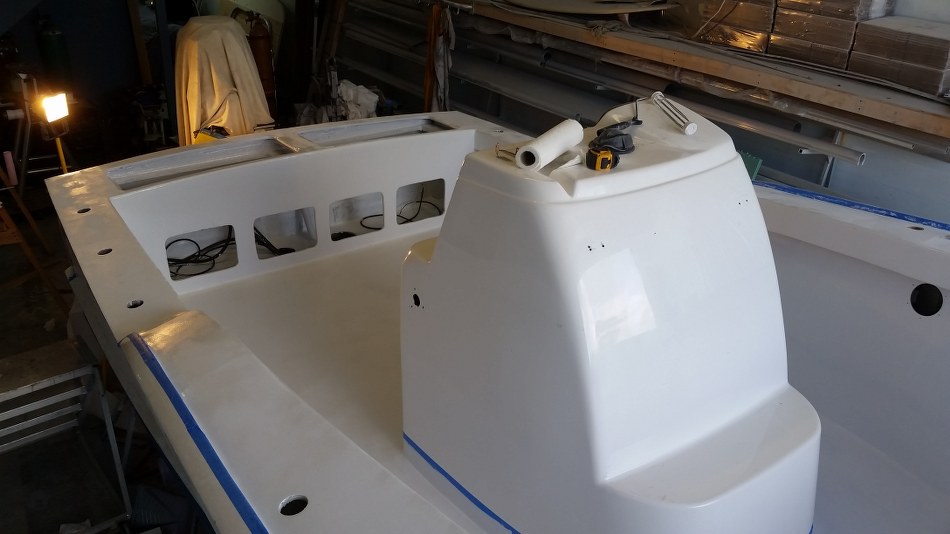
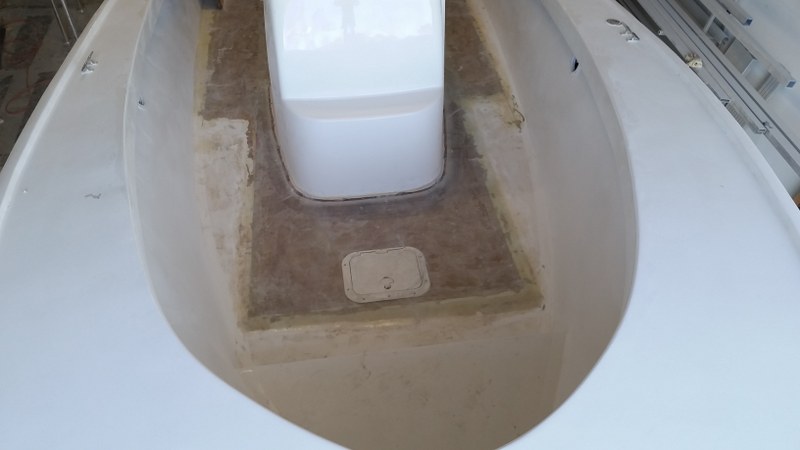
From there we added the console. The T Top was built by accident a couple months before I bought the boat. I didn't yet have a console for it, so I bought a console that the T Top was designed for. It was built for a 210 Tidewater. We build the tops for our local dealer, Marker 17, so they hooked us up.

Instead of just screwing it to the floor, I came over top of the screws with fiberglass to give it a nice finish.20150504_182043_800x450_782.jpg20150504_182041_800x450_335.jpg20150504_182038_800x450_584.jpg


ReplyQuote
Stuart Foreman
(@highspeedwelding)
Estimable Member
Joined: 17 years ago
Posts: 147
Topic starter  

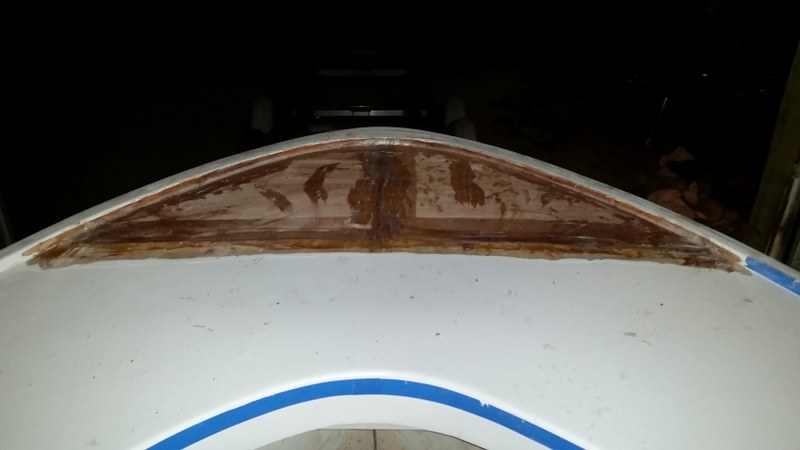
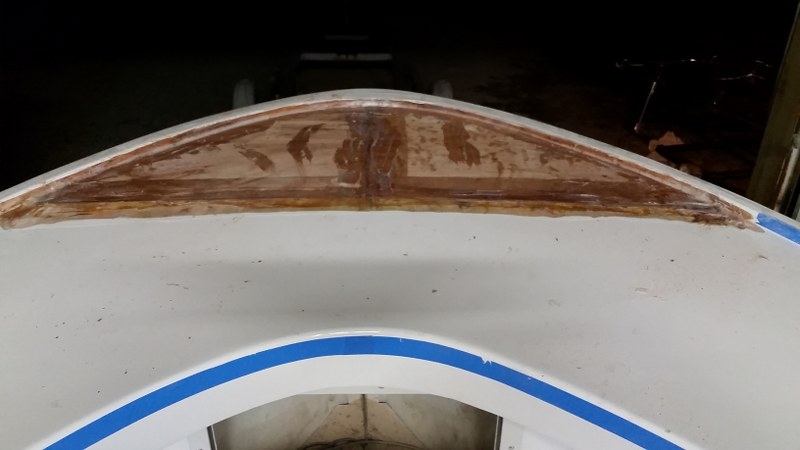
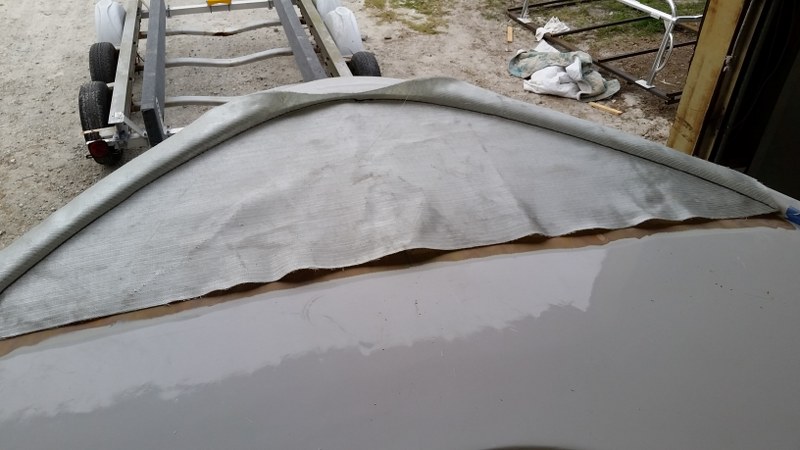
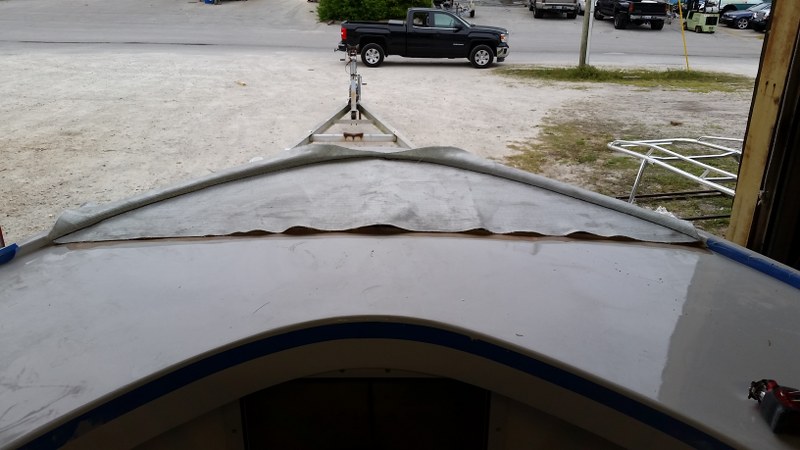
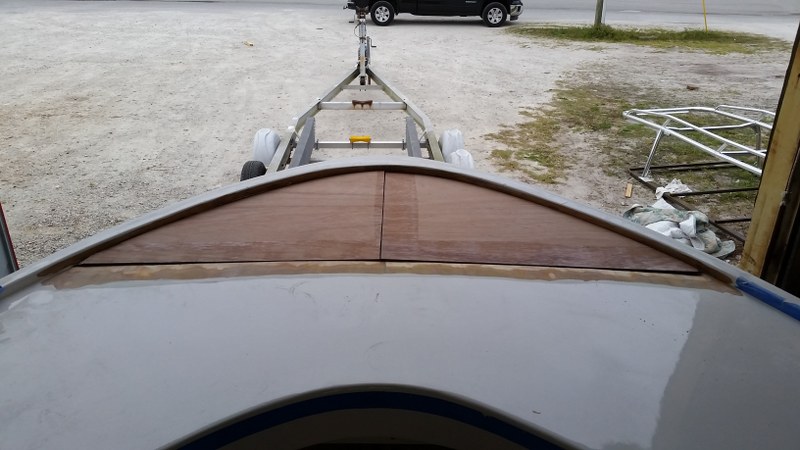
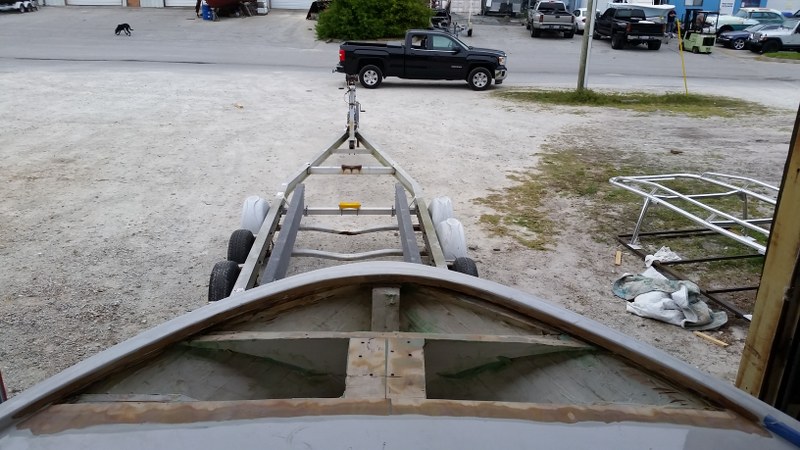
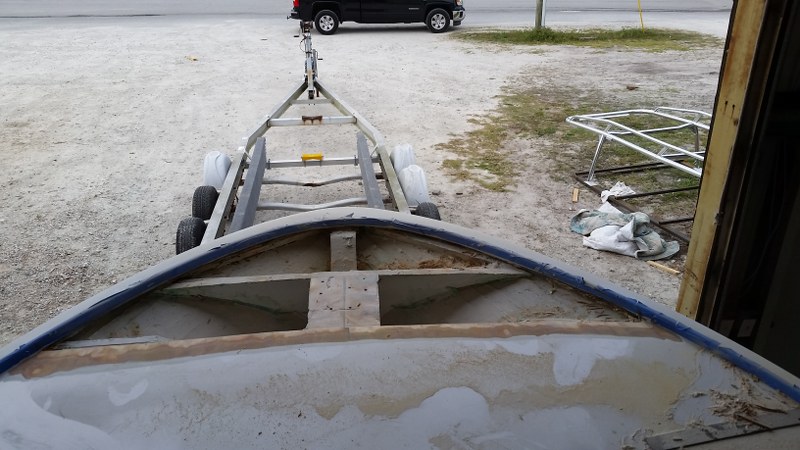
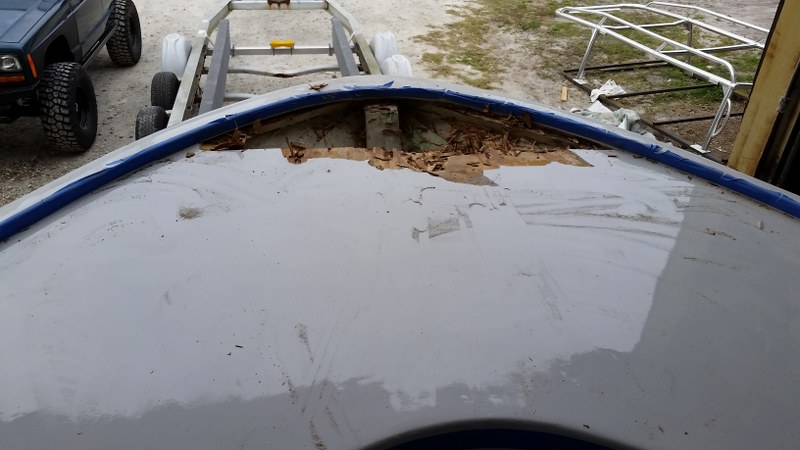
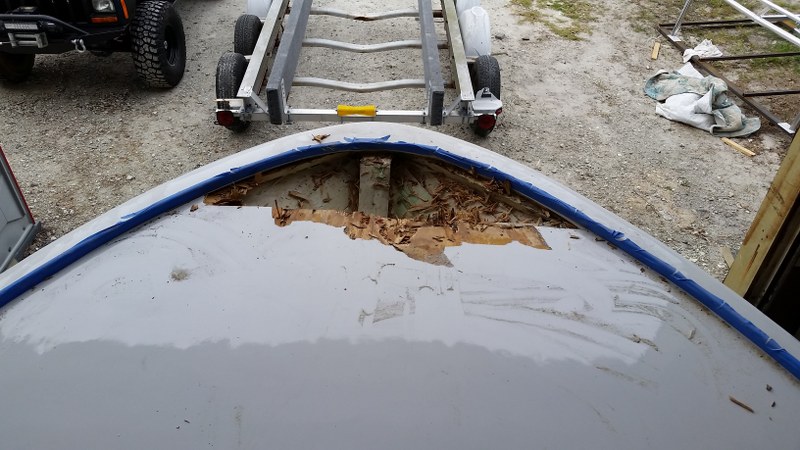
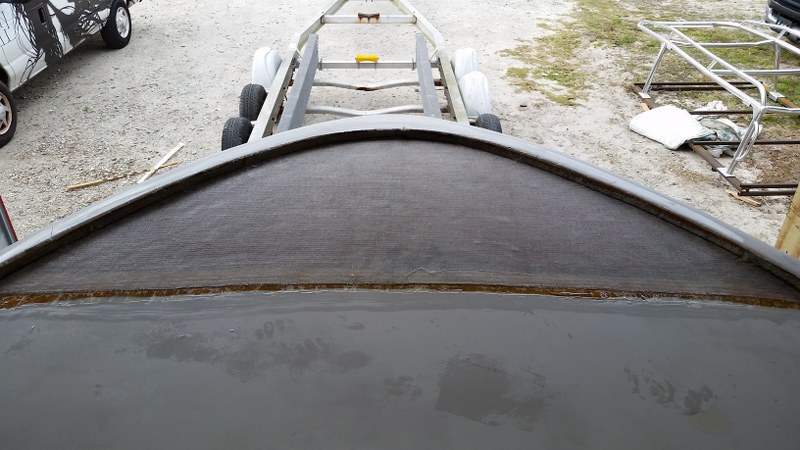
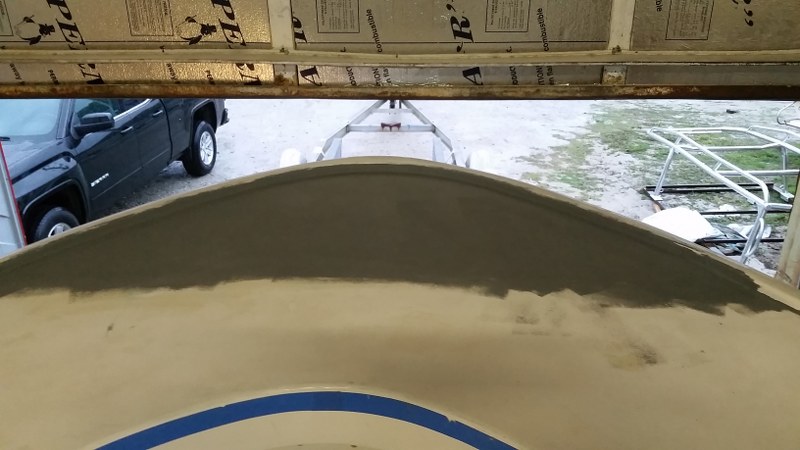
Around this point I was starting to prep everything for paint. When removing the cleats in the bow, I found a good amount of rot. Rather than painting over, I decided to go ahead and cut it out to repair.

I had some pieces of marine grade plywood left over, so I cut them to fit. I then glued everything down and came over with a layer of fiberglass. That section was then blended in and primed for paint.20150507_180032_800x450_137.jpg20150506_205506_800x450_190.jpg20150506_205447_800x450_885.jpg20150506_191734_800x450_205.jpg20150506_191730_800x450_900.jpg20150506_191135_800x450_136.jpg20150506_191044_800x450_358.jpg20150506_183130_800x450_119.jpg20150506_173640_800x450_190.jpg20150506_173637_800x450_198.jpg


ReplyQuote
Stuart Foreman
(@highspeedwelding)
Estimable Member
Joined: 17 years ago
Posts: 147
Topic starter  

Here is a photo with the primer.20150510_192835_800x450_209.jpg


ReplyQuote
Stuart Foreman
(@highspeedwelding)
Estimable Member
Joined: 17 years ago
Posts: 147
Topic starter  

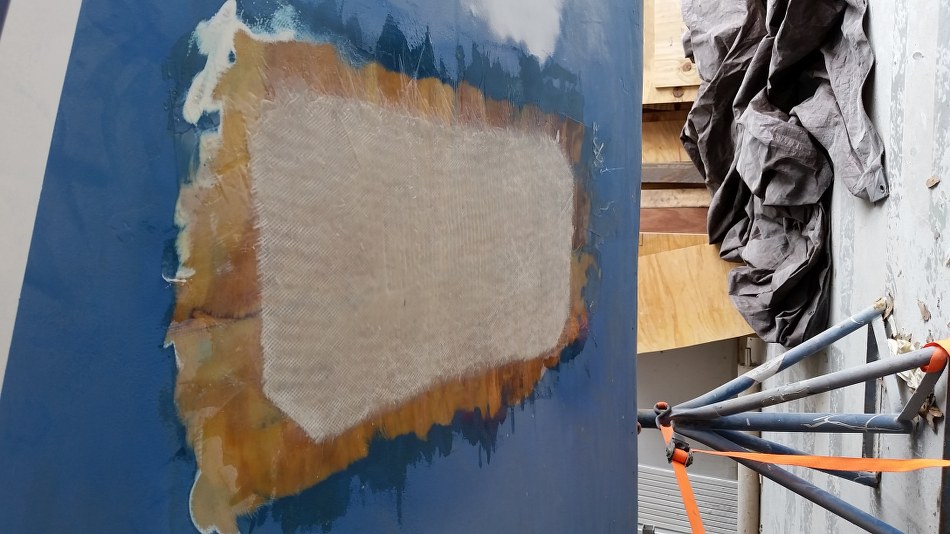
I also found a little spot on the bottom that needed some more glass. Sanded it down and put on a new layer.20150506_124604_950x534_142.jpg


ReplyQuote
Stuart Foreman
(@highspeedwelding)
Estimable Member
Joined: 17 years ago
Posts: 147
Topic starter  

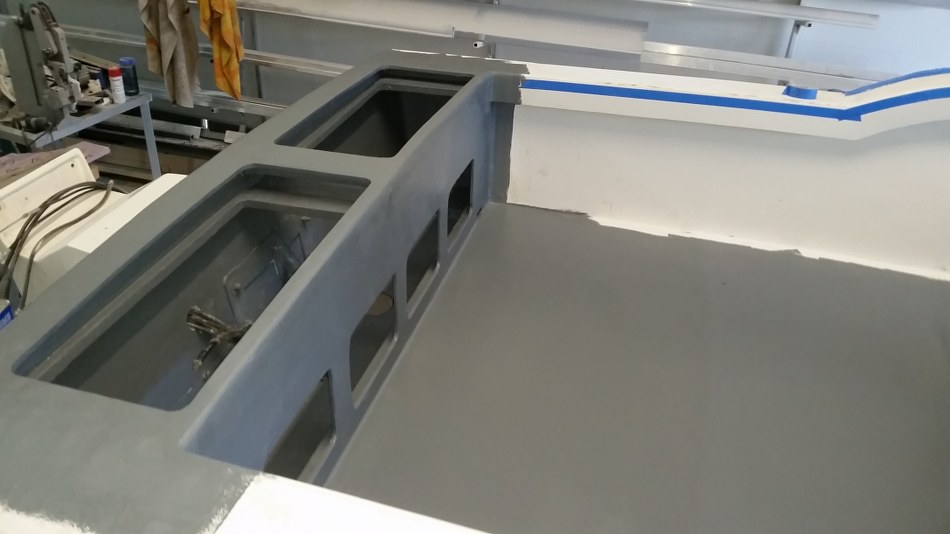
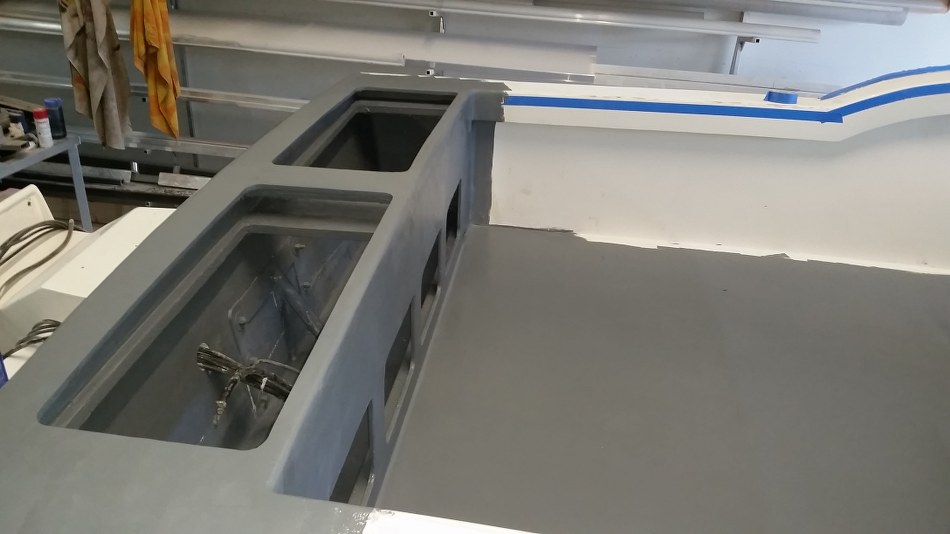
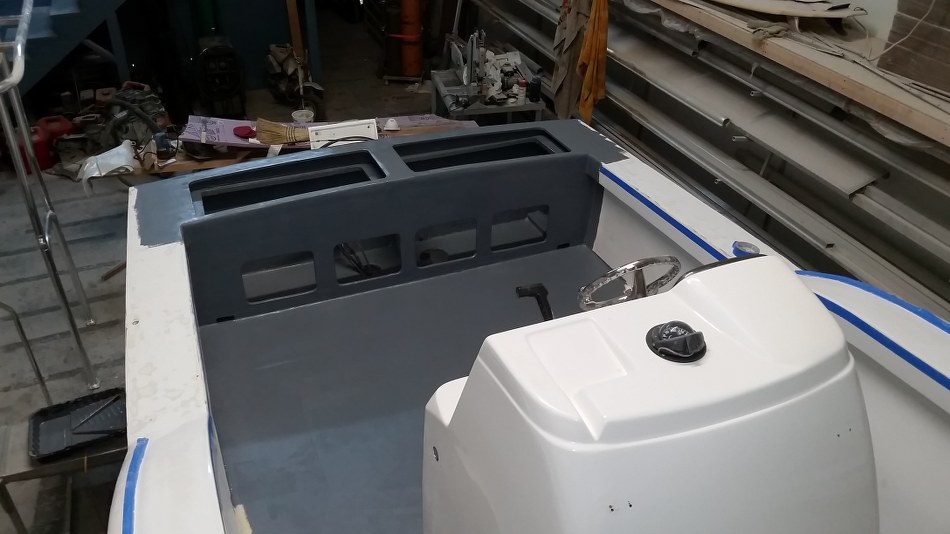
After all of the hardware was removed, we went ahead and put on a coat of epoxy primer.20150507_192007_950x534_122.jpg20150507_191758_950x534_557.jpg20150507_191750_950x534_169.jpg20150507_191747_950x534_121.jpg20150507_191742_950x534_111.jpg


ReplyQuote
Stuart Foreman
(@highspeedwelding)
Estimable Member
Joined: 17 years ago
Posts: 147
Topic starter  

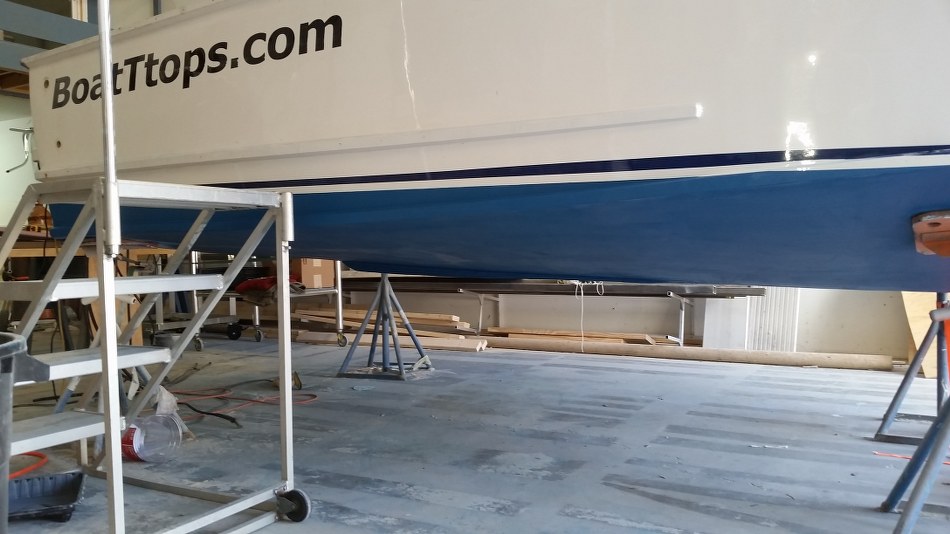
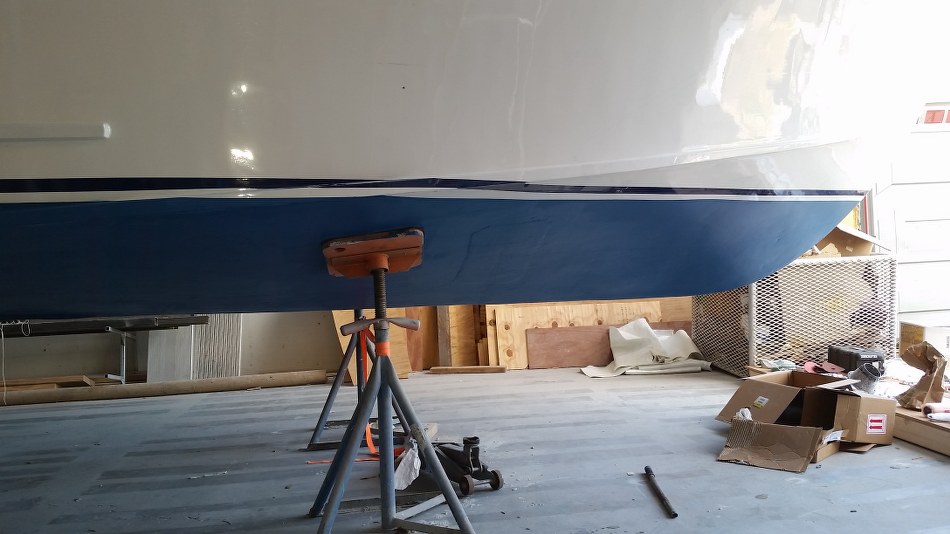
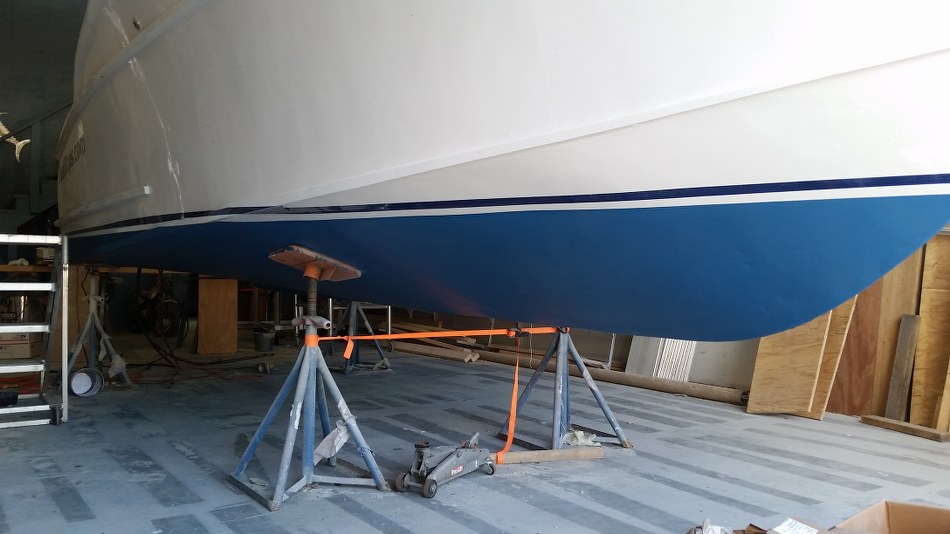
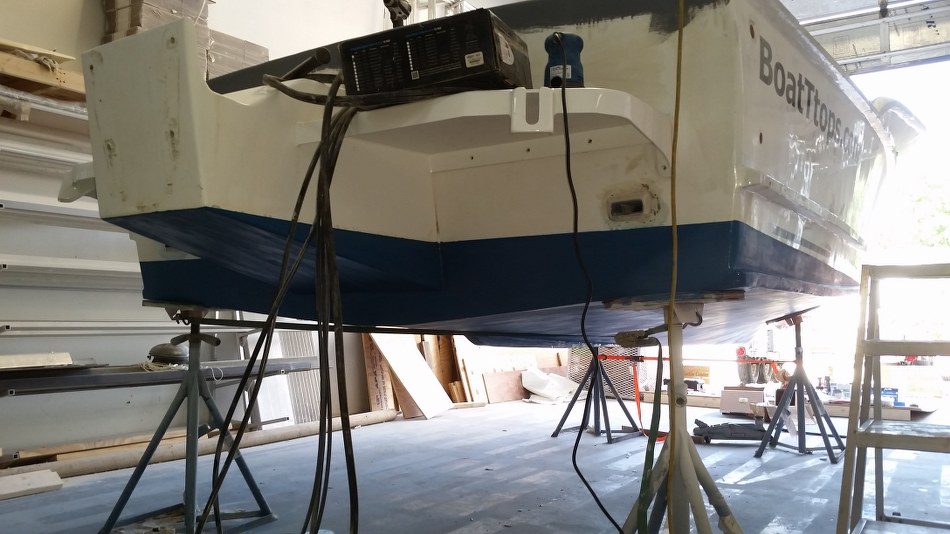
While the primer was drying, I climbed underneath the boat and put on a fresh coat of bottom paint. In one of the photos you can see the keel that was added to keep the stern straight in turns.20150508_171732_950x534_146.jpg20150508_171721_950x534_657.jpg20150508_171718_950x534_153.jpg20150508_171707_950x534_112.jpg


ReplyQuote
Matt
 Matt
(@)
Famed Member
Joined: 16 years ago
Posts: 2497
 

Wow! Incredibly well done. Looks like you'll be splashing her before too long!


ReplyQuote
K. L. Wheeler, III
(@)
Prominent Member
Joined: 17 years ago
Posts: 775
 

Great looking boat!!!!


ReplyQuote
John
 John
(@)
Estimable Member
Joined: 18 years ago
Posts: 168
 

Stuart- I enjoyed talking with you and getting to see the boat up close on Saturday at DRI. Even with the hurdle, you turned out an awesome rig in short order. Great story too. Enjoy it. See you on the water.
John Kilian


ReplyQuote
Stuart Foreman
(@highspeedwelding)
Estimable Member
Joined: 17 years ago
Posts: 147
Topic starter  

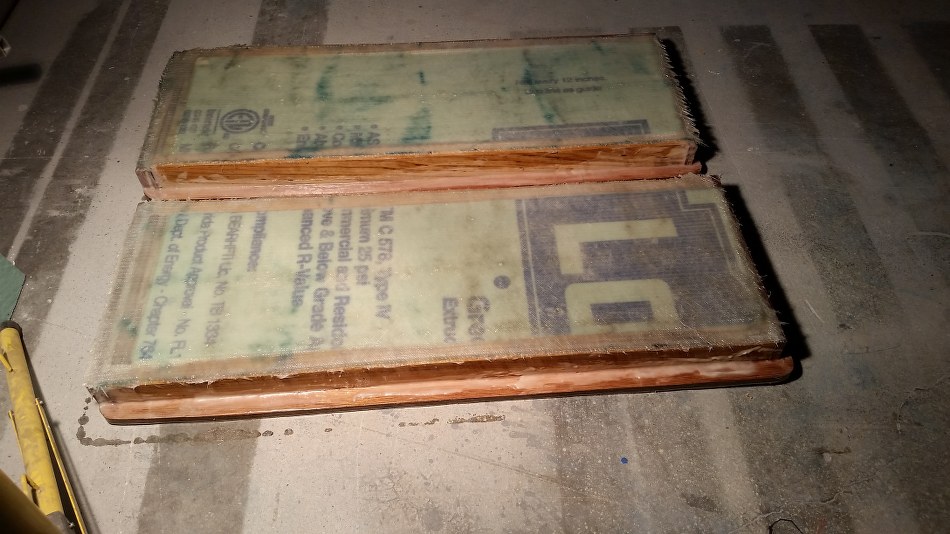
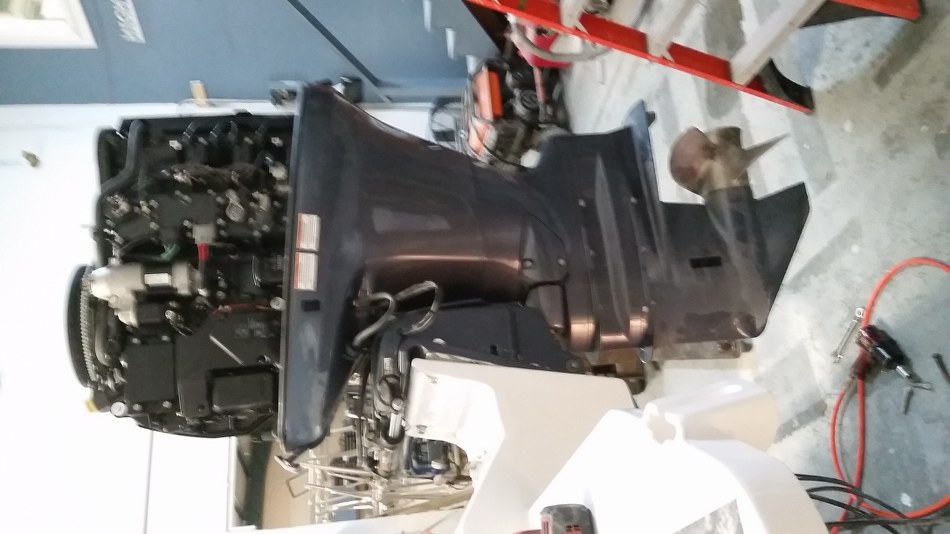
Here's a photo of the bottom side of the fish box lids. Insulated them with a few layers of 1/2". The 150 Yamaha was hung as well.20150510_192820_950x534_169.jpg20150510_192815_950x534_325.jpg


ReplyQuote
Stuart Foreman
(@highspeedwelding)
Estimable Member
Joined: 17 years ago
Posts: 147
Topic starter  

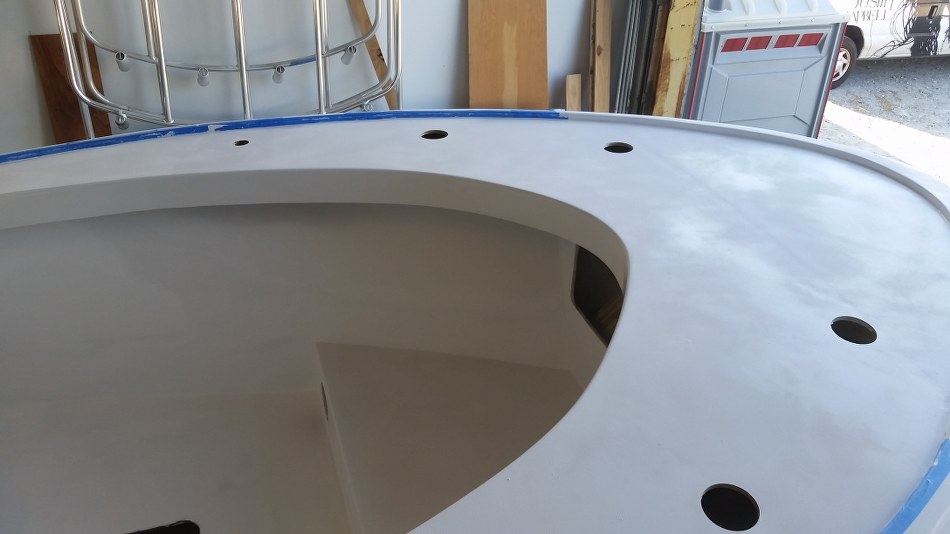
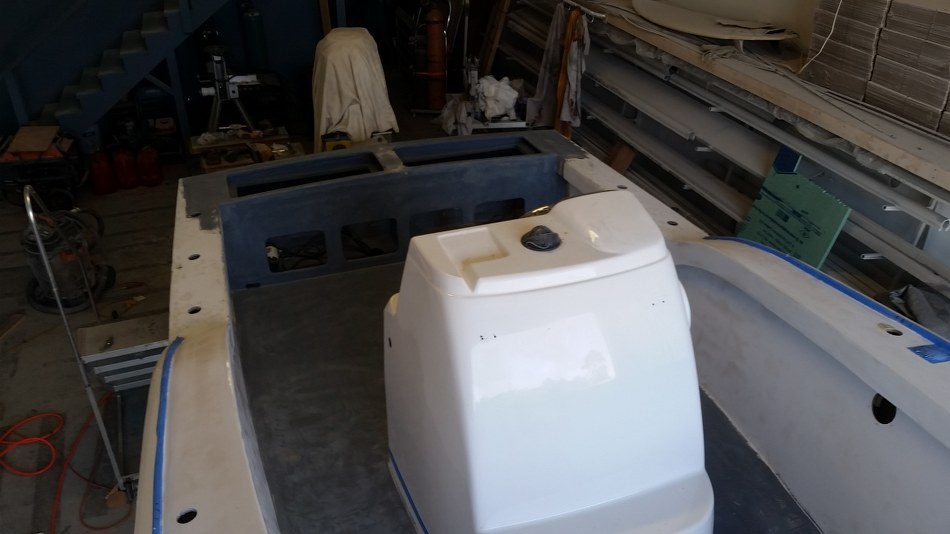
Here are some photos after the primer was sanded with 220. Drilled out the holes for the rod holders and cup holders. The top of the gunnels and inside of the gunnels were sanded down for a fresh coat as well.20150517_185703_950x534_158.jpg20150517_185656_950x534_904.jpg


ReplyQuote
Stuart Foreman
(@highspeedwelding)
Estimable Member
Joined: 17 years ago
Posts: 147
Topic starter  

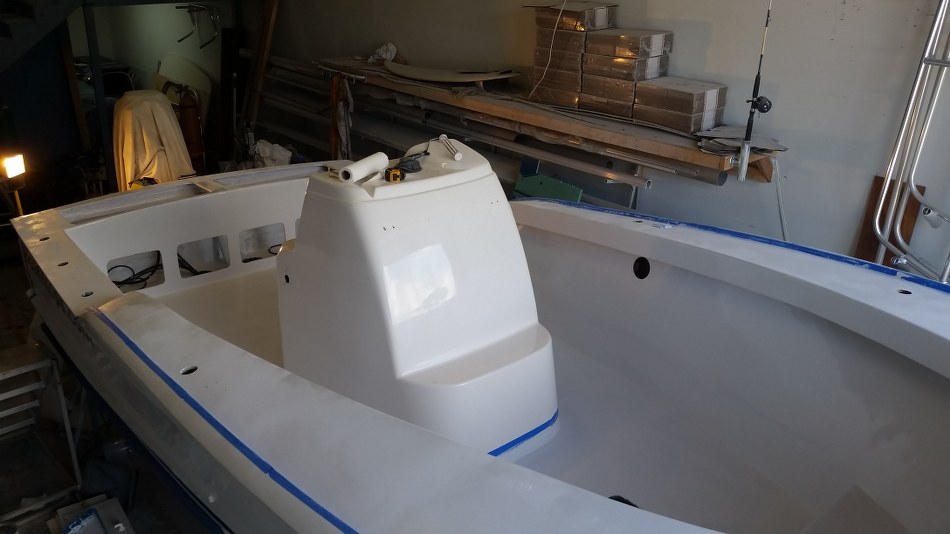
Here are some photos of the first top coat that was added. Went to the original color of "cloud white".20150518_173929_950x534_204.jpg20150518_173907_950x534_937.jpg20150518_173904_950x534_847.jpg


ReplyQuote
Stuart Foreman
(@highspeedwelding)
Estimable Member
Joined: 17 years ago
Posts: 147
Topic starter  

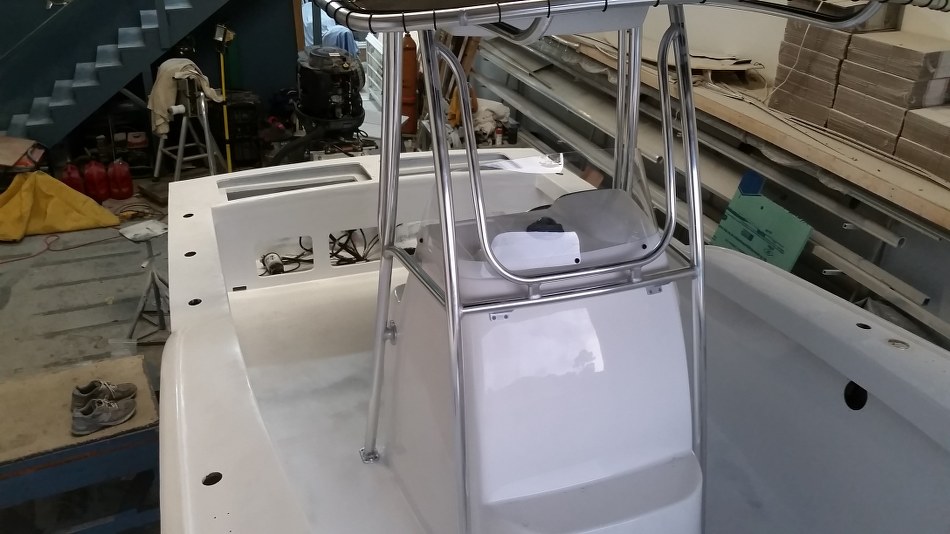
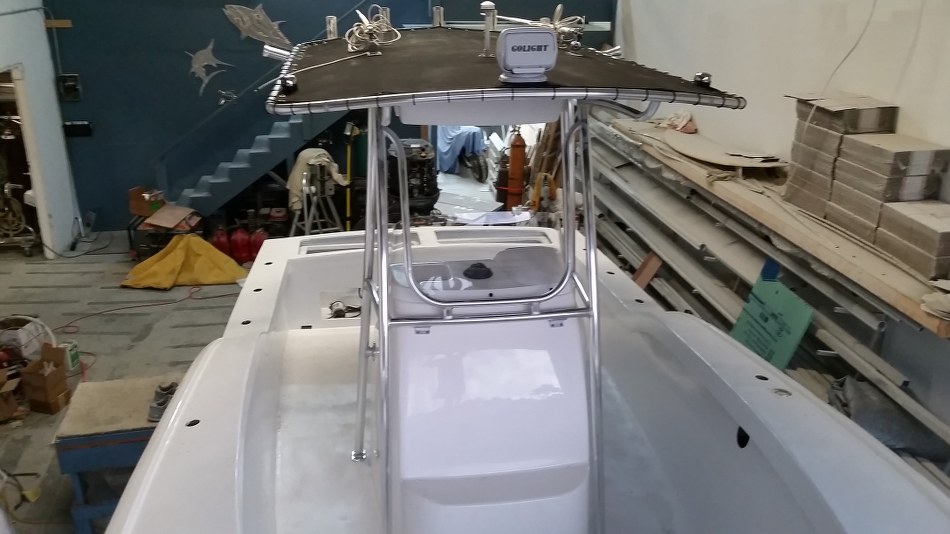
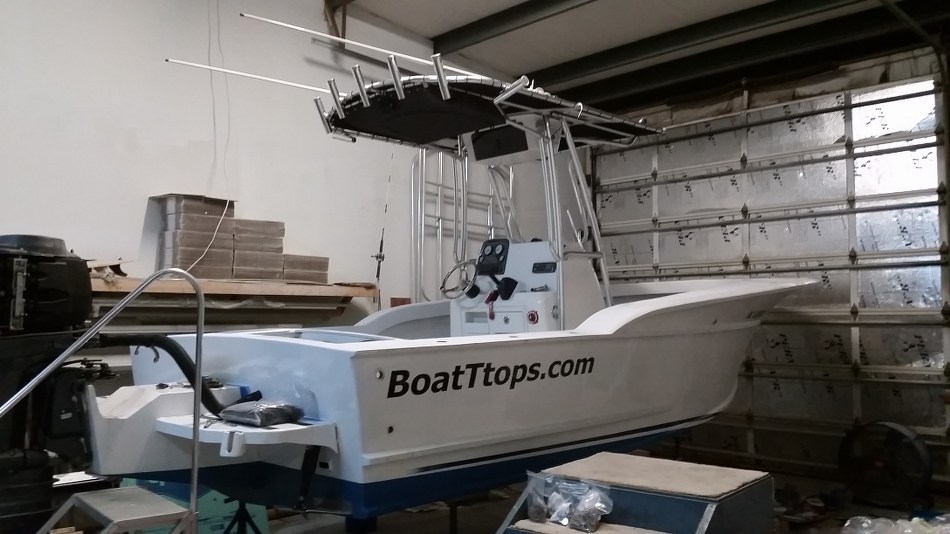
Here are some photos of the T Top installed.20150519_193410_950x534_212.jpg20150519_193249_950x534_207.jpg20150519_193241_950x534_136.jpg


ReplyQuote
Matt
 Matt
(@)
Famed Member
Joined: 16 years ago
Posts: 2497
 

Love how you added lots of rod holders. That's really nice.


ReplyQuote
Stuart Foreman
(@highspeedwelding)
Estimable Member
Joined: 17 years ago
Posts: 147
Topic starter  

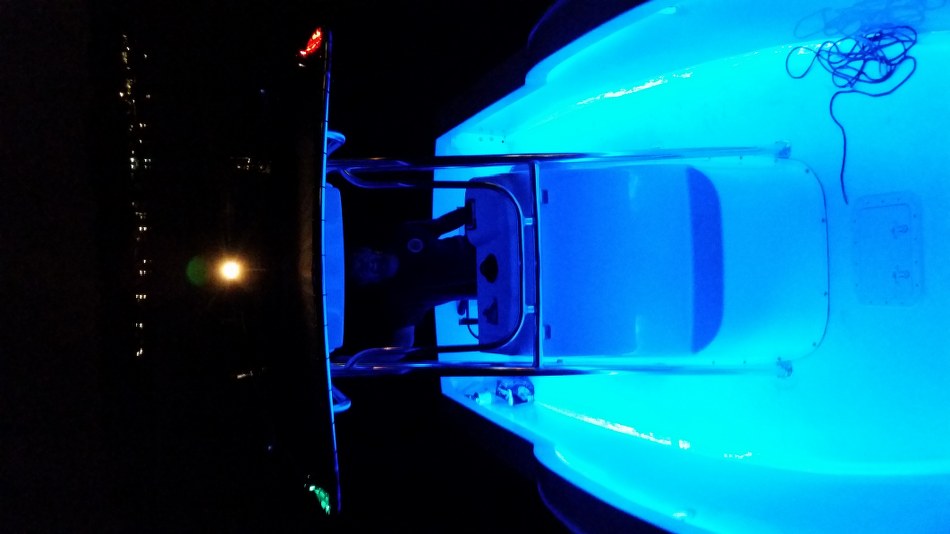
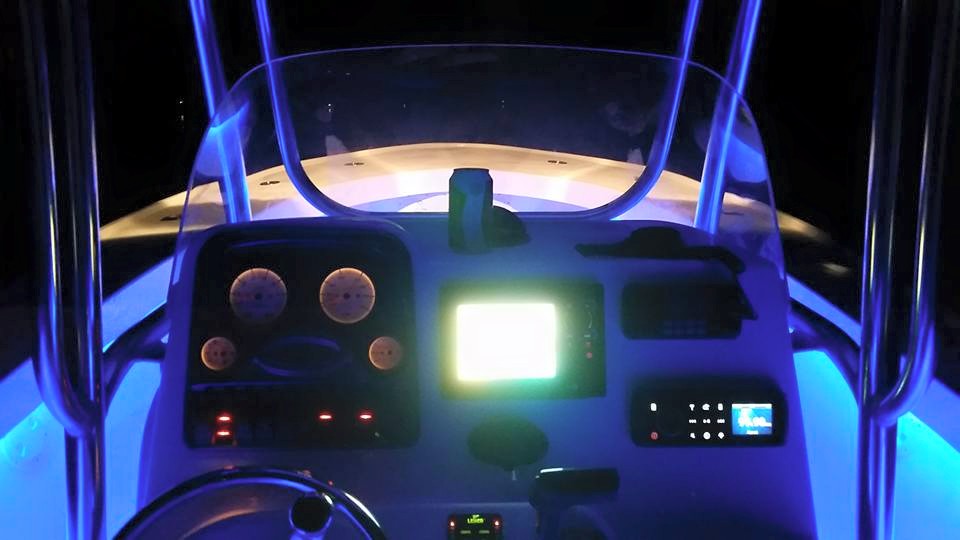
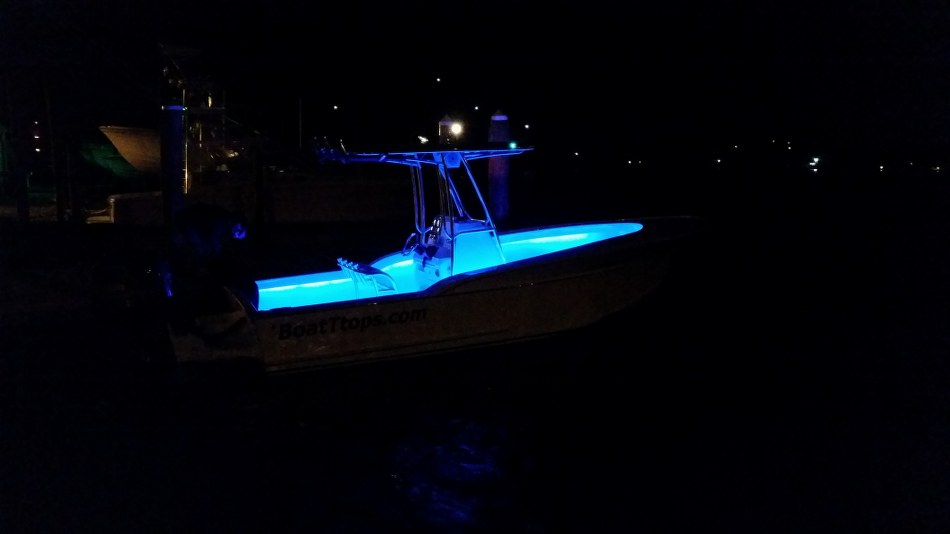
Here are some photos of the night we launched.20140524_012435_950x534_460.jpg20140524_010034_950x534_163.jpg19388_10101186106545176_1553836884869229284_n_857.jpg


ReplyQuote
Page 4 / 6
Share: